

Ferry-Morse Windowsill Microgreens Grow Kit
Grow your own food in as little as 5 days!
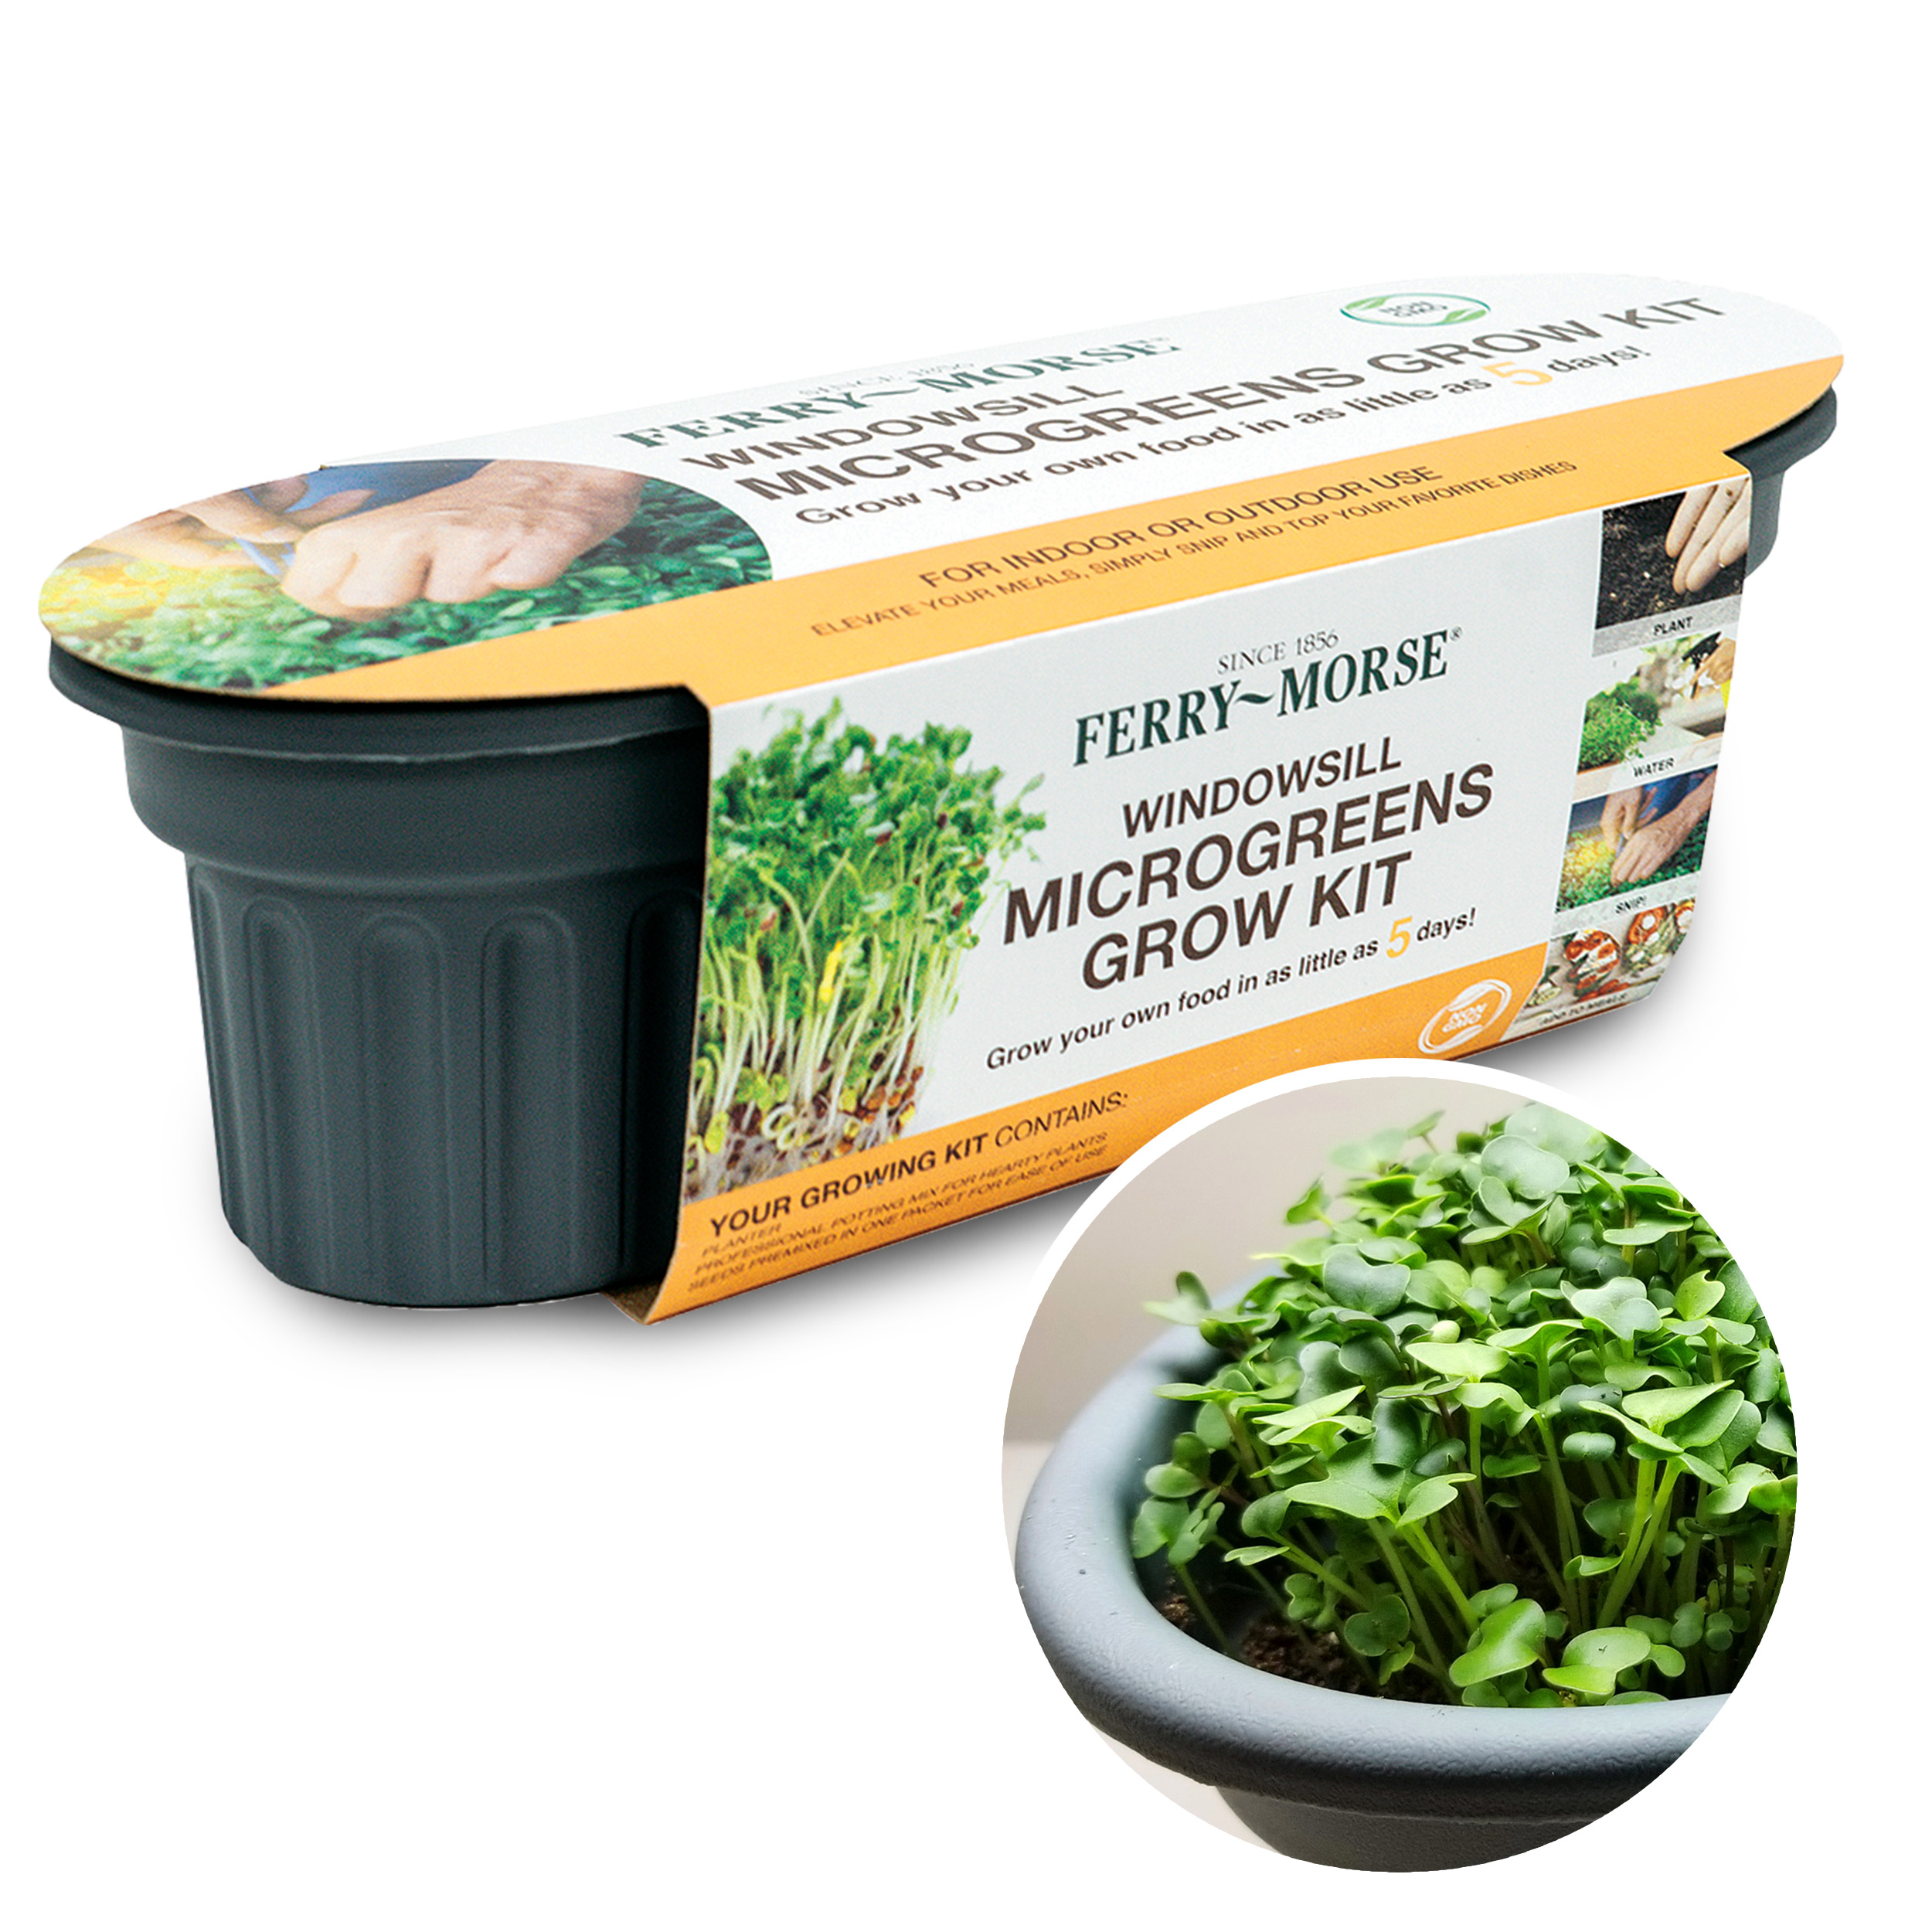
Microgreens are popular because they are easy to grow, harvest and prepare. With the majority of microgreens varieties being ready to consume in as little as five days from sowing, it's no wonder why people grow them so often. Microgreens are perfect to grow in containers and this kit comes with a sturdy, compact container you can use over and over again.
Purchase Grow Kit HereA Breakdown of the Microgreens Kit:
Included in our microgreens growing kit is one bag of professional potting mix, one re-usable plastic planter and one packet of pre-mixed microgreens seeds.
The included potting mix contains everything your microgreens seeds will need to germinate quickly and effectively. The potting mixtures contents include: Sphagnum peat moss, horticultural vermiculite, wetting agent and lime for pH balance.

You also receive a re-usable plastic planter with center drainage hole that sits perfectly on most windowsills. If it doesn't fit on your windowsill you can place this planter in any spot in your home that sees a good amount of sunlight each day.
Finally, a packet of pre-mixed Red Mustard microgreens and Green Mustard microgreens seeds are included with this kit. These seeds will grow into nutrient-dense microgreens you can harvest and use in your smoothies and meals.
How to Use the Microgreens Kit:
YOU WILL NEED: Water. Base tray (if working indoors).

First step is adding the potting mix to the planter. If you're doing this indoors then you may need some sort of base tray to work on in case of any spillage. You can either dump the mix directly from the bag into the planter or you can shovel it in using a trowel.

After you have added the potting mix to the planter you will need to water the mix thoroughly. We recommend that you add water slowly, mixing the potting soil contents around as you go to be sure that the entire mix is completely damp before adding your seeds.

Once your potting mix has been sufficiently dampened, you are ready to sow your microgreens seeds! You will know that you have added enough water to the mix once it turns a deep, dark brown color. From here you sprinkle your microgreens seeds on top of the wet potting mix and cover them lightly.
Finally, be sure to keep your potting soil moist and warm in order for the seeds to germinate. After they have sprouted keep them in an area that will get plenty of sunlight. Retain soils moisture. When microgreens are 1"-2" high, cut right above the soil to harvest.

Product Recommendations for Growing Your Microgreens

Ferry-Morse Heat Mat
Excellent for warming the soil surrounding your seeds to encourage germination.
Shop Now

1 comment
I love vegetables i would love to have land to grow them to stay healthy